EngineBayCleaning
From John Clarke Mills Project Wiki
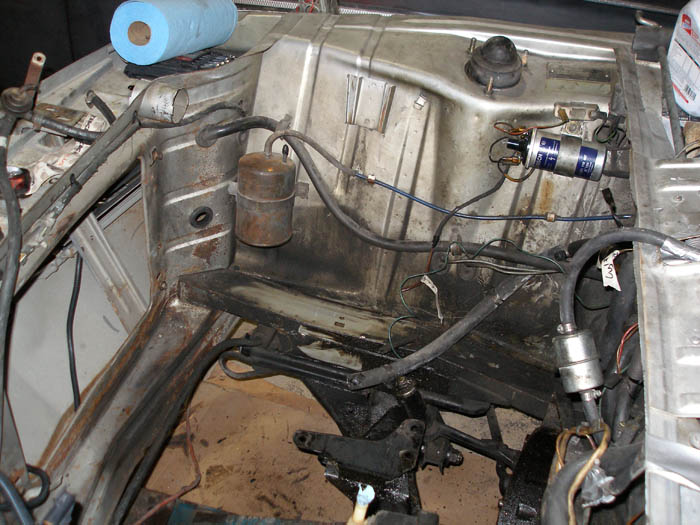
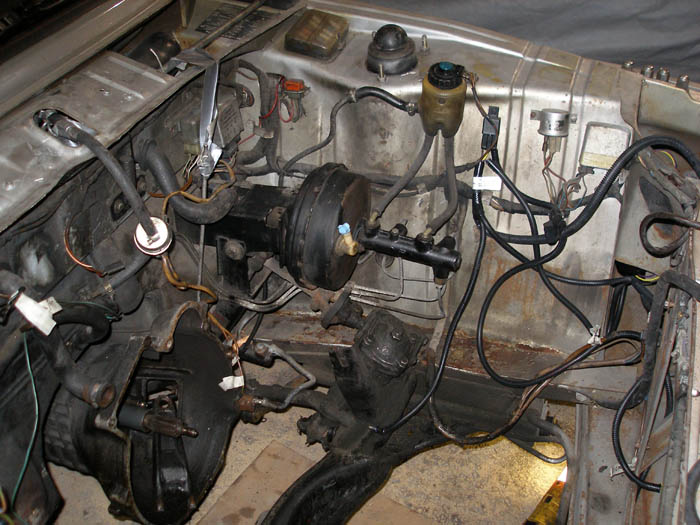
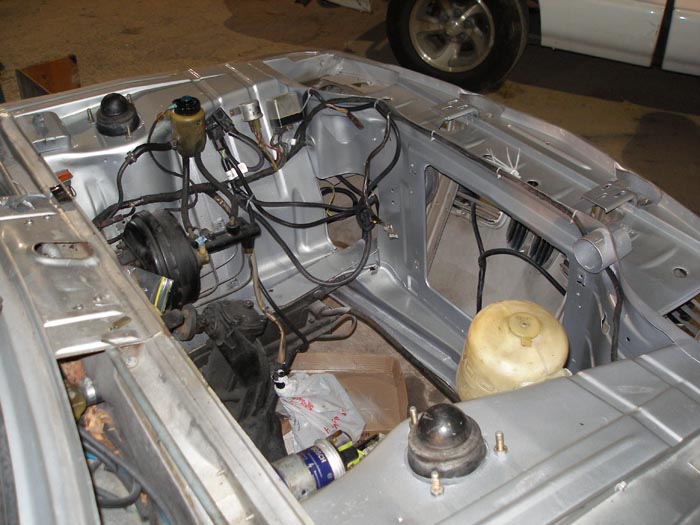
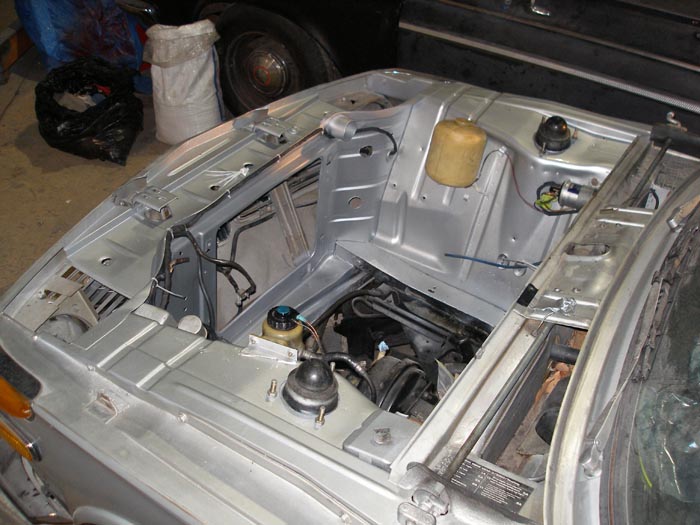
Well since my motor is out I have decided to do more than just have it rebuild and drop it back in to a dirty engine bay. What I am doing is moving all the wiring out of the way and cleaning all the grime and the little rust there is so I can repaint. After I spray some light paint I am going to fix up the wiring and re-cover it with new friction tape.
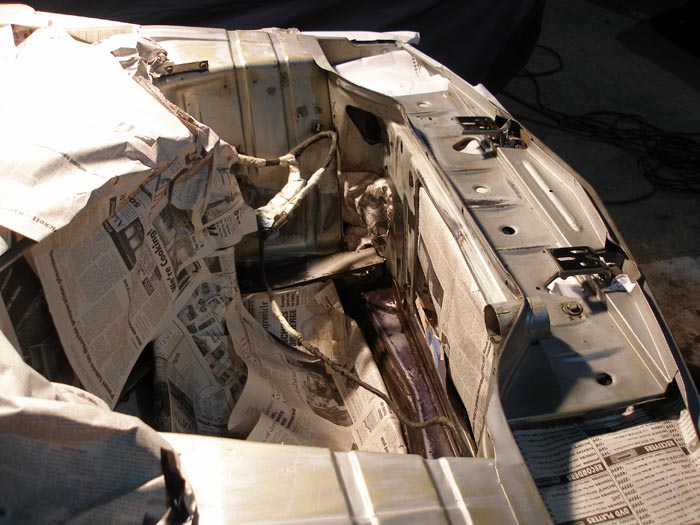
Here are two before pictures:
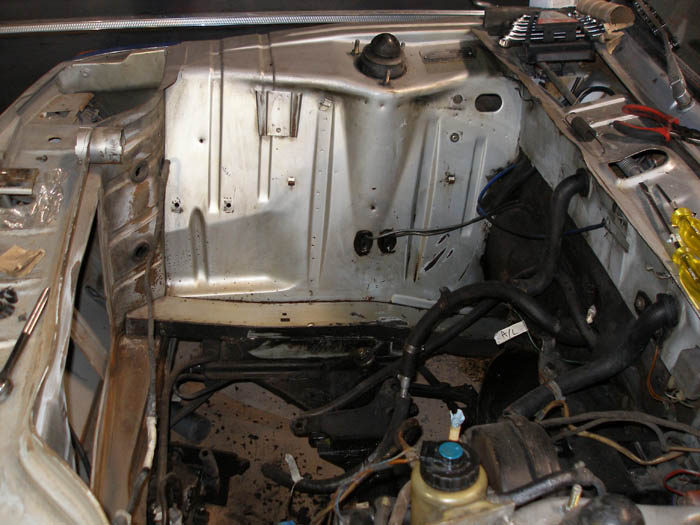
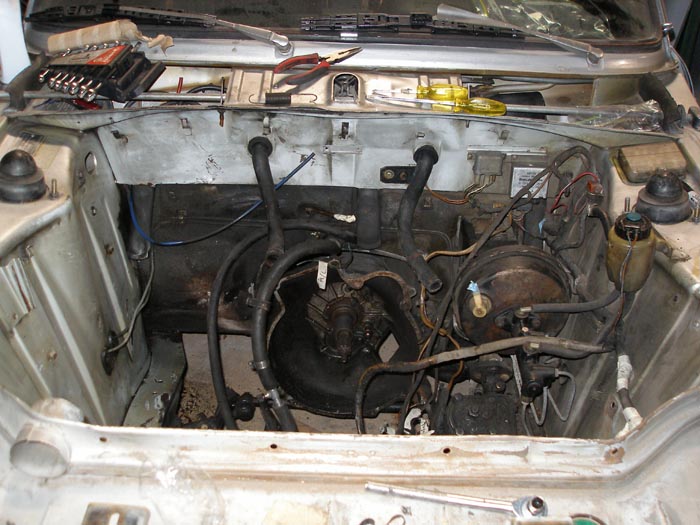
The cleaning has begun:
It all came off pretty easily, it just took a lot of elbow grease (and some grease remover). Once everything was cleaned we sanded any rust and cleaned again.
The engine bay is cleaned and masked off
Since I am not removing everything from the car I had to mask of things like wiring and the brake booster. The paint was in good condition so I decided just to paint where necessary (I have to draw the line somewhere on this project).
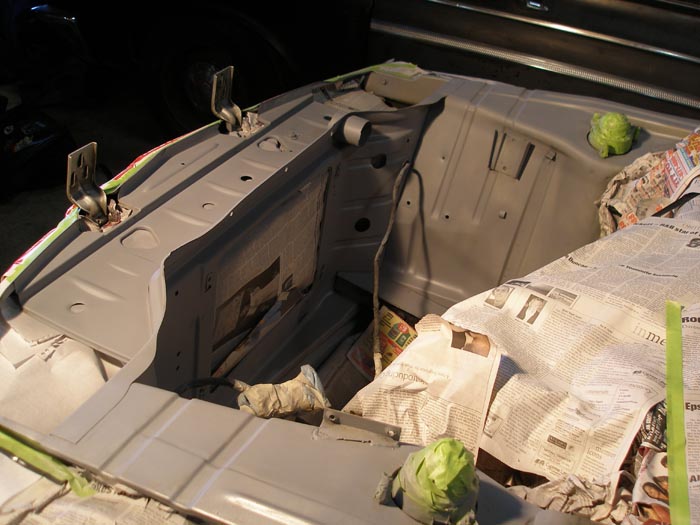
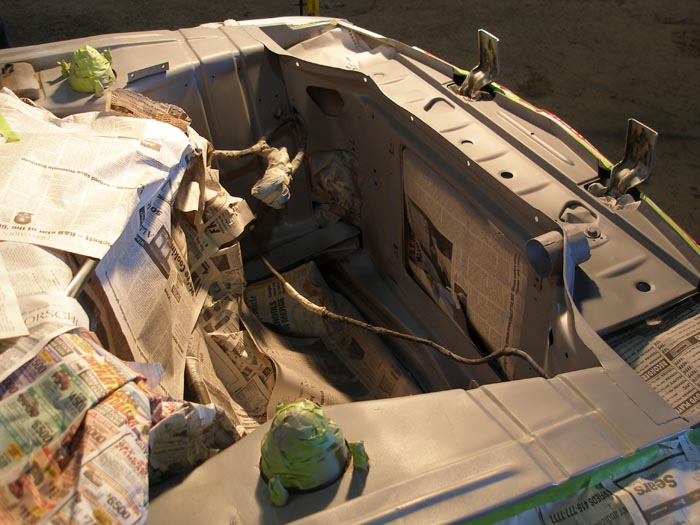
<b/>Primer is laid down</b>
Everything looks great! I couldnt be happier with the results. Now its time for the color coat next week
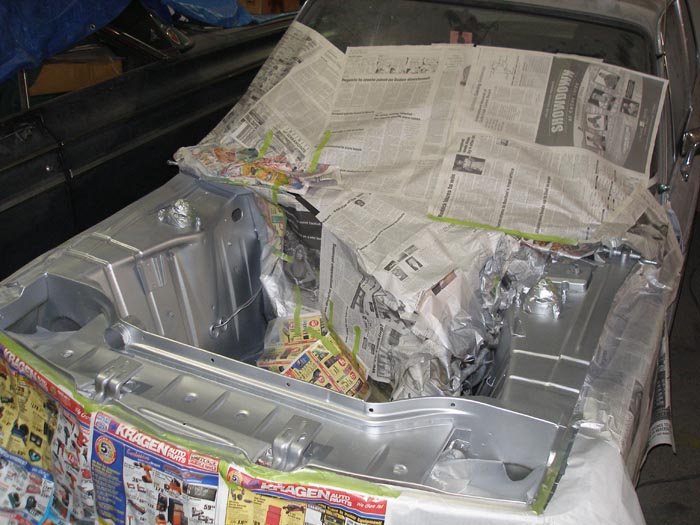
Finally 3 coats of color have been laid down awaiting clear next weekend
The job is finally complete
After three coats of the clear the job was done. The color matching was dead on! I was even shocked. Now the rest of the clear has to be buffed to look as good as the new clear :). My roommate and I managed to get all wiring wrapped back up and in place.
