EngineRemoval
From John Clarke Mills Project Wiki
| Line 4: | Line 4: | ||
| - | + | <b>Here is a picture of the engine before any work has been done:</b> | |
[[Image:before any work.jpg]] | [[Image:before any work.jpg]] | ||
Revision as of 20:54, 30 December 2005
Removing and engine is not as hard as you may think. Its a little bit overwhelming at first, but it simple enough where I feel confident enough to do it again by myself. Luckily this time I had a buddy to help me get it out of the car.
So here are two tips that I would highly recommend. The first being, bring a digital camera along. I took pictures from every angle so if I have to figure something out, I can refer back to them. The second being, label everything. I labeled every wire and hose, in and out in some cases, to make reassembly a snap. I also put all the various nuts and bolts in ziplock bags and labeled them to make things even easier.
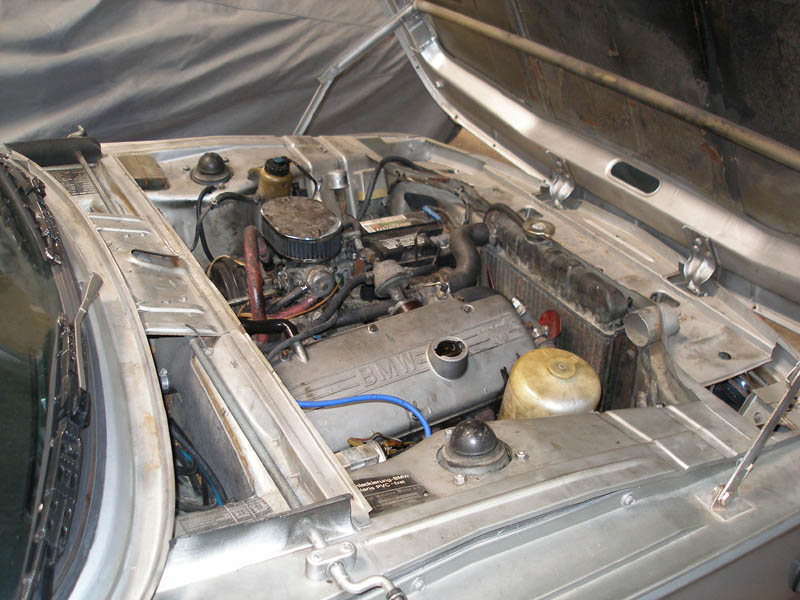
Here is a picture of the engine before any work has been done:
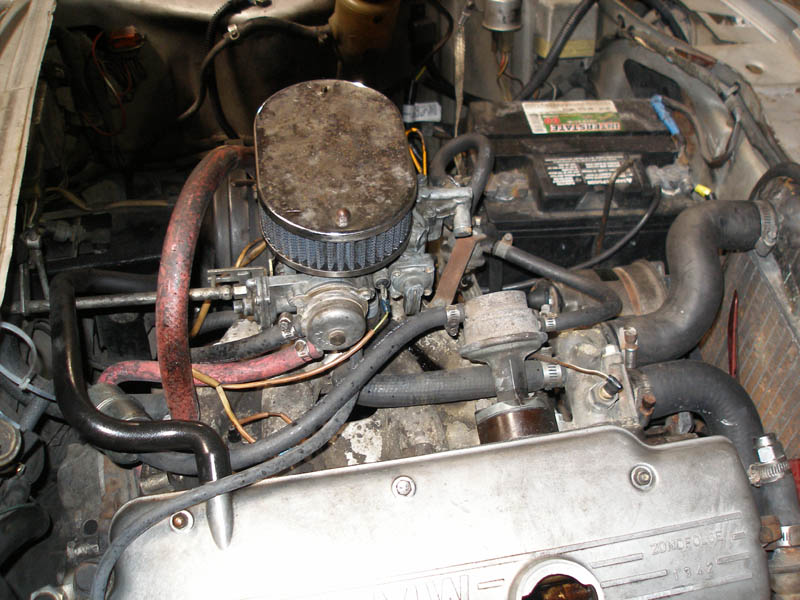
""Another picture before any work:""
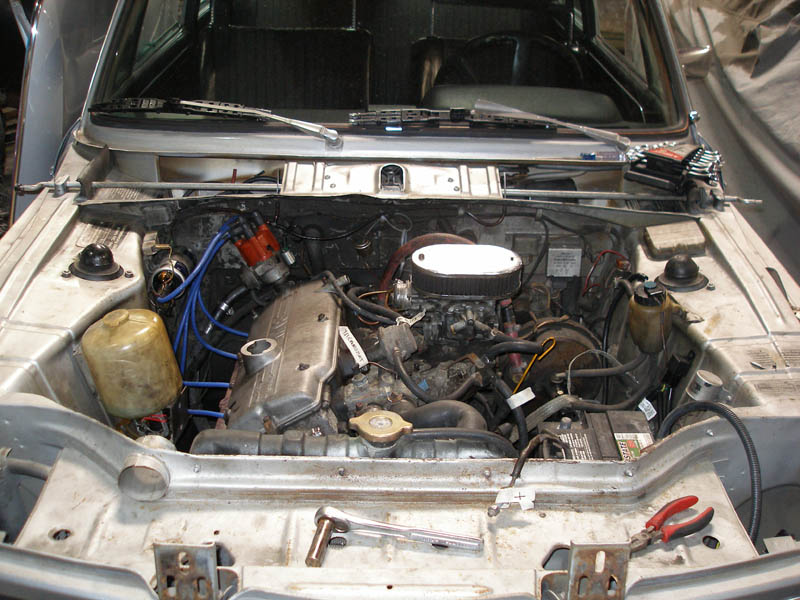
""The hood is off and work has begun:""
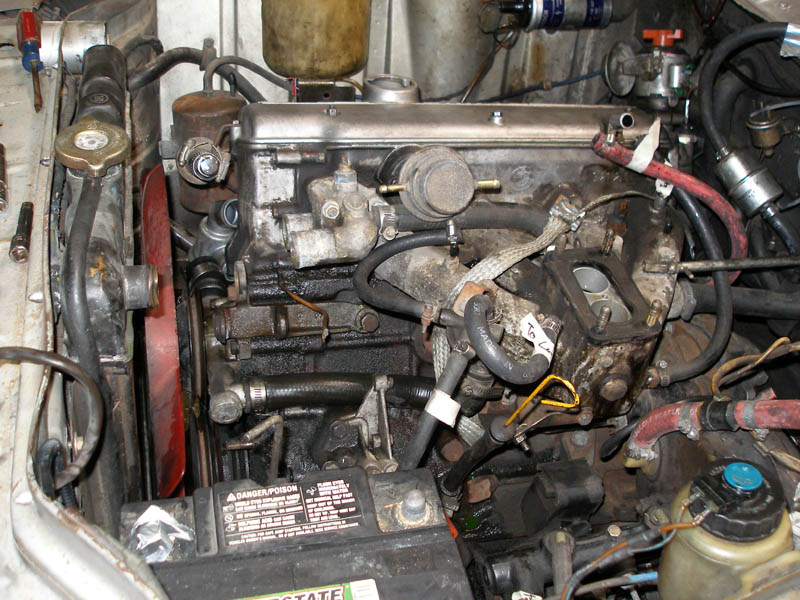
""Alternator and carb are out as well as more labeling""


